We were invited to a Fourth of July barbecue a few weeks ago. As I always do, I asked our host if there was anything I could bring, and knowing that our host has a bit of a sweet tooth got all excited about making this pie to bring along (not only do I get to have a piece but there is no pie hanging around tempting me to eat more than is prudent). The party ended up being cancelled, but at that point I had all the ingredients on hand and was so excited about having a piece of this that I just had to make it happen.
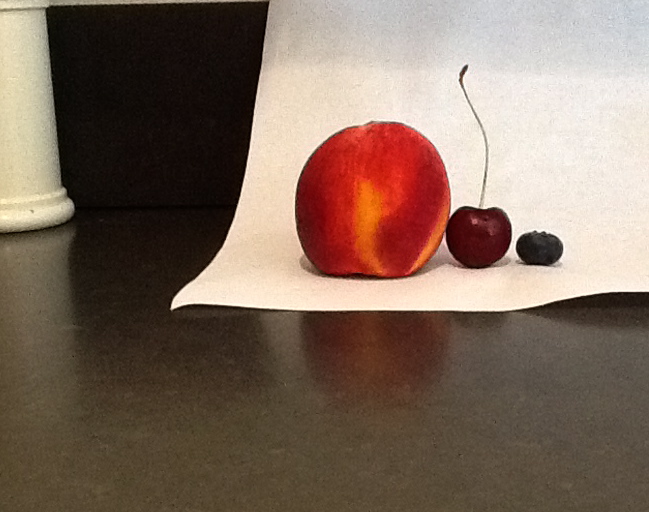
Three or four weeks a year the season for cherries, blueberries and peaches overlap and when it rolls around on the calendar, I can’t help myself, I’ve got to make what I think of as summer pie. I love this combination of fruit and there is something about the fact that the window for obtaining ripe cherries, blueberries and peaches is so fleeting makes it seem extra special. So when I got the news that the party was cancelled and no longer had people to share it with I was a bit disappointed – and then we ended up having company a few nights later so (oh joy!) I had a reason to make it. I wasn’t entirely happy with the way the first one came out – too runny. So I tried it two more times increasing the amount of starch each time. The last go around I didn’t have the time to make a crust, so I packed the fruit into the pie plate and topped it with the crumble mixture, which was also good if you want to take a short cut and not bother about the pie crust.
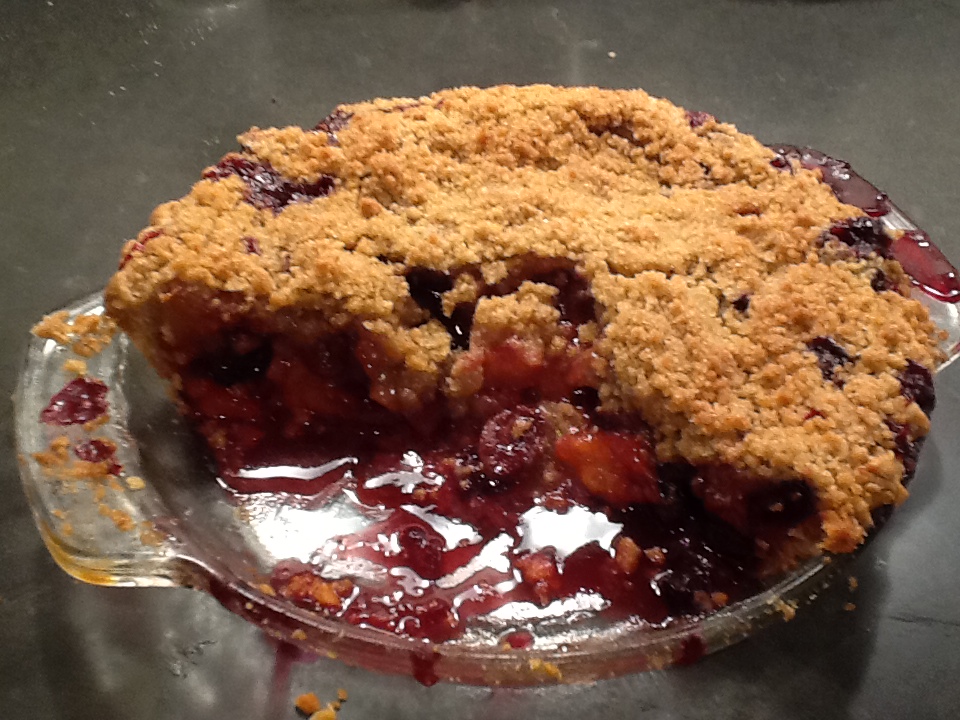
This is not a tidy slice, art director favorite kind of pie. It is looser, more slumpy, more fruit crumble kind of pie. So if you want something that doesn’t droop in the least, this may not be your kind of pie. But if you want a slice of summer, drips and all, this might be for you.
Pie:
1 – 9″ pie crust, placed in a glass pie plate and refrigerated until ready to fill. (I am going to assume here that you are either a pie crust maker or not. And if you ARE a pie crust maker I’m going to assume you have a recipe you like. And if you are NOT a pie crust maker just use whichever pre-made version you prefer – I’m not going to judge you either way.) I like glass because it takes any guesswork out of whether or not the crust is cooked.
Crumble: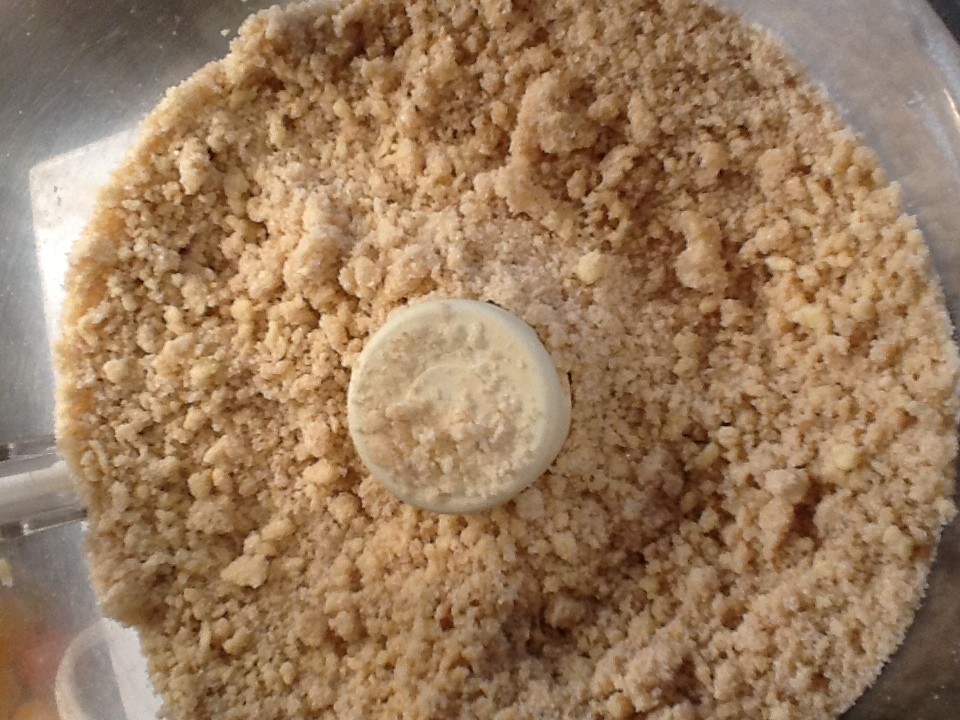
1 cup flour
1/2 cup light brown sugar
1/2 cup granulated sugar
1 /2 teaspoon
1/2 teaspoon cinnamon
1/2 teaspoon salt
pinch of freshly grated nutmeg
1/2 cup butter
Filling: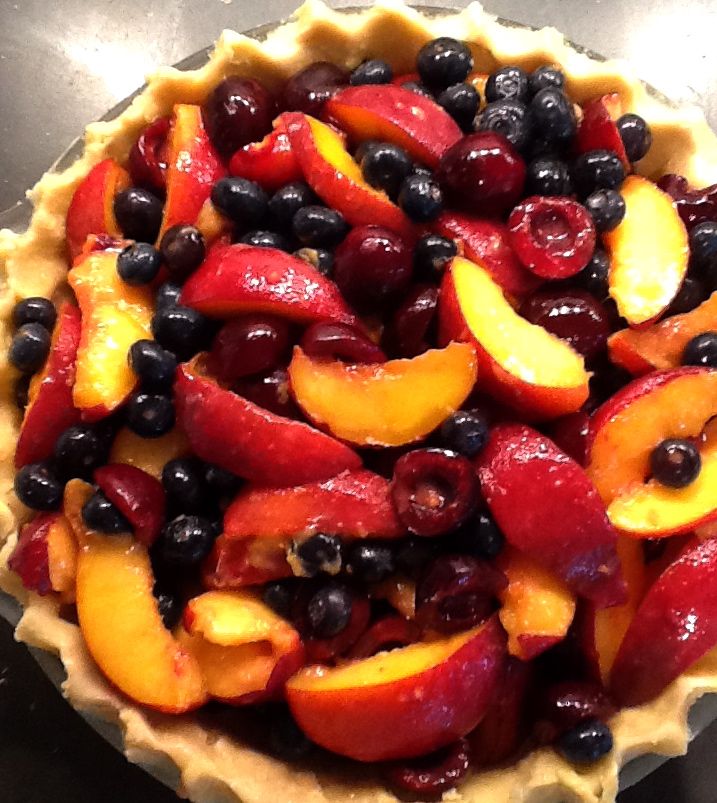
2 cups halved, pitted cherries
2 cups blueberries
1 1/4 lbs peaches (about 4 regular, 5 organic), pitted and sliced into 1/2″ inch wedges
1/2 cup sugar
6 tablespoons tapioca starch (or corn starch)
1 teaspoon lemon zest
2 teaspoons lemon juice
- Preheat oven to 375°.
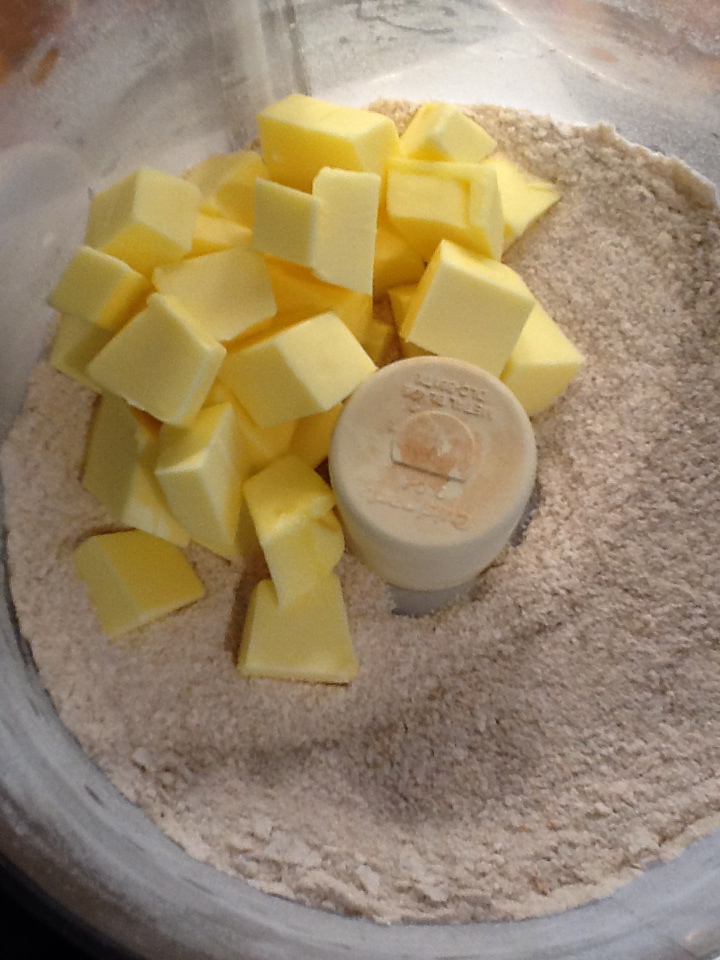
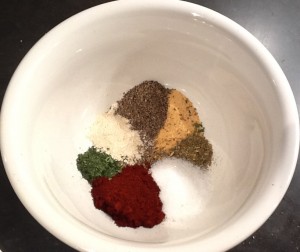
- Combine flour, sugars, salt, cinnamon and nutmeg in a food processor or large bowl. Pulse a few times to combine thoroughly or whisk together until well combined, if not using a food processor. Cut the butter into small cubes and pulse into the flour mixture until it resembles a coarse meal – some little butter bits are fine. Alternatively, use a pastry blender or two knives to achieve the same texture. (That picture up there in the food processor is what it looked like when it was done.) Set the mixture aside until you are ready to top the pie. This can be done a day or so in advance and refrigerated until you are ready to use it.
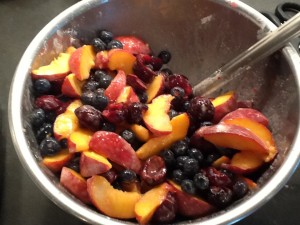
- Combine the fruit with the sugar, tapioca starch lemon zest and lemon juice. Allow to macerate for 10 minutes or so.

- Pack the fruit into the pie shell. Don’t be shy, really press it in there – it will settle as it cooks in any case but the topping will crack less when the cooked fruit settles.
- Bake the pie on a baking sheet for 1 hour 45 minutes, checking at 1 hour 30 minutes just to make sure you aren’t over doing things. The crust should be golden brown and the filing will be bubbly and overflowing a bit. (Hence the recommended baking sheet.)
- Allow the pie to cool on a wire rack as long as you can stand it – at least 2 hours (I actually threw this one in the fridge to take the heat down faster because I only had an hour until dessert time). Warm pie is my favorite but room temperature won’t hurt anything. Serve with vanilla ice cream – or not.
 1/2 cup corn oil
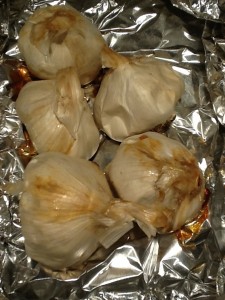
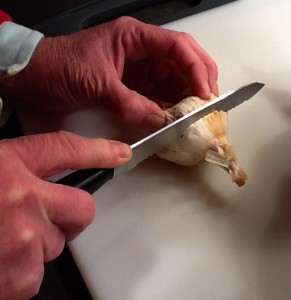
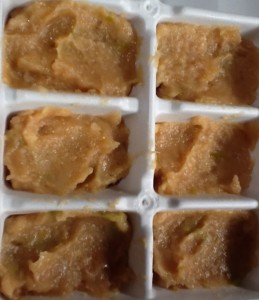 d how hot your oven is. Check at 45 minutes and give the garlic as squeeze. If it doesn’t feel soft, return it to the oven and roast until the heads of garlic yield easily to a gentle squeeze. (Lay a towel over the foil to protect your hands from the heat.)
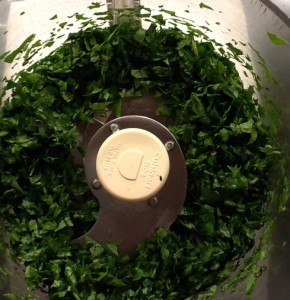 sides as you go. How much oil you need will depend upon how much basil you are trying to preserve. You need just enough oil to make it “go,”add the oil a teaspoon or two at a time so you don’t over do it. The puree should be thick and pasty, not saucy.